Creality 3D Ender 3 Pro Review
Our Verdict
Our Analysis and Test Results
The Ender 3 Pro is much more suited to a hobbyist or DIYer who doesn't mind having to troubleshoot the occasional issue without a ton of support or adding in a few aftermarket upgrades that can significantly improve the overall quality of this printer.
Print Quality
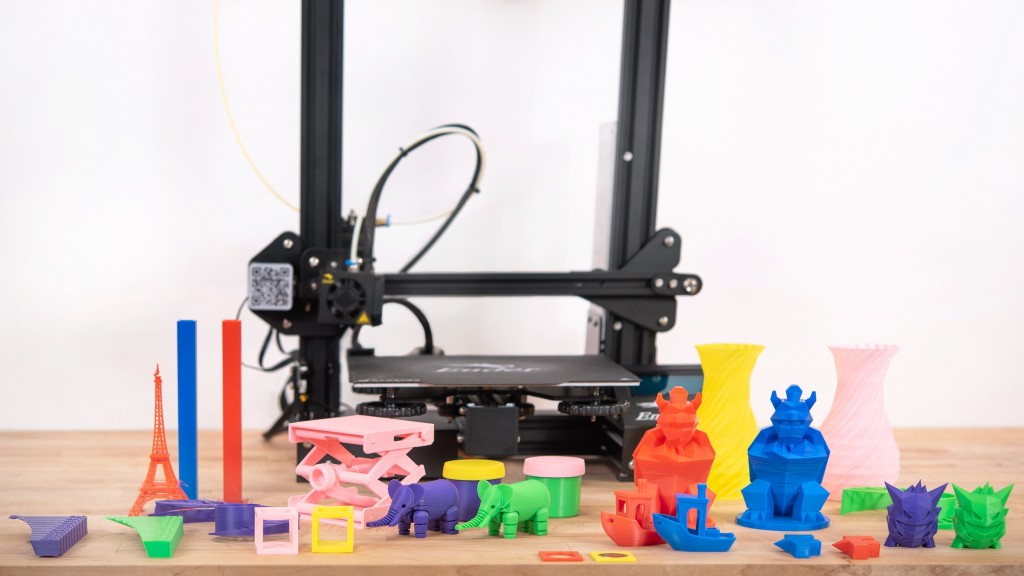
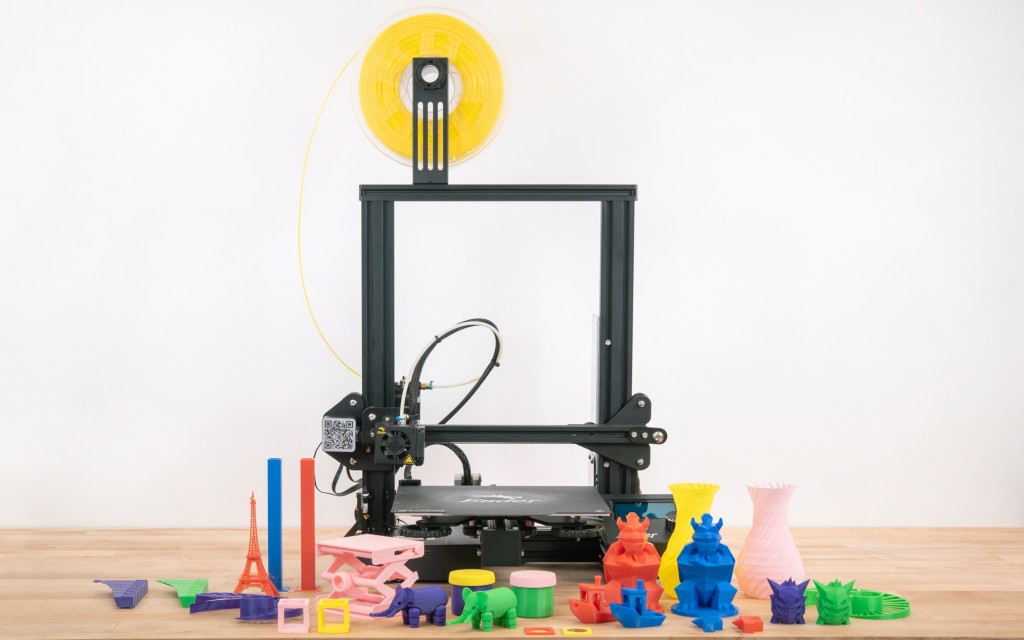
First and foremost, we rated and compared the quality of the 3D prints produced by the Creality Ender 3 Pro, which makes up 40% of its total score. To score performance, we attempted to print out our selection of test prints in both PLA and ABS and had a panel of judges assess their quality. Each test print was selected to evaluate a particular attribute of the Ender 3's printing abilities, such as fine details, overhanging geometry, bridging, or print-in-place articulated prints. The Ender 3 did decently well in these tests, creating a set of test prints that are overall just above average compared to the rest of the printers in the pack.
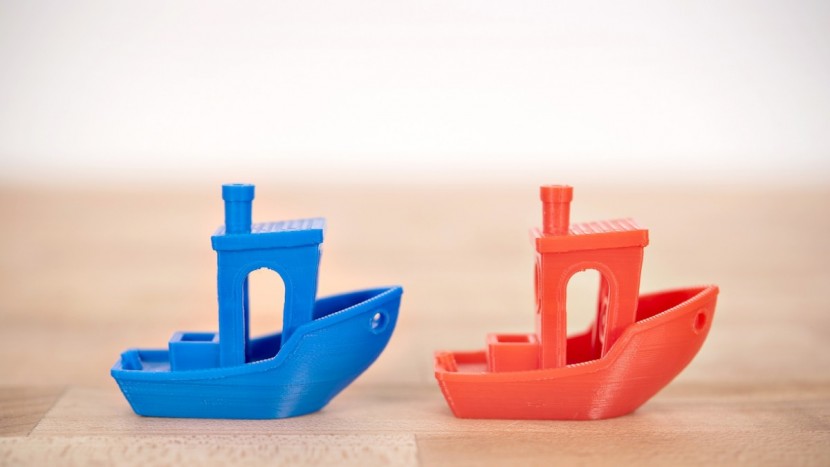
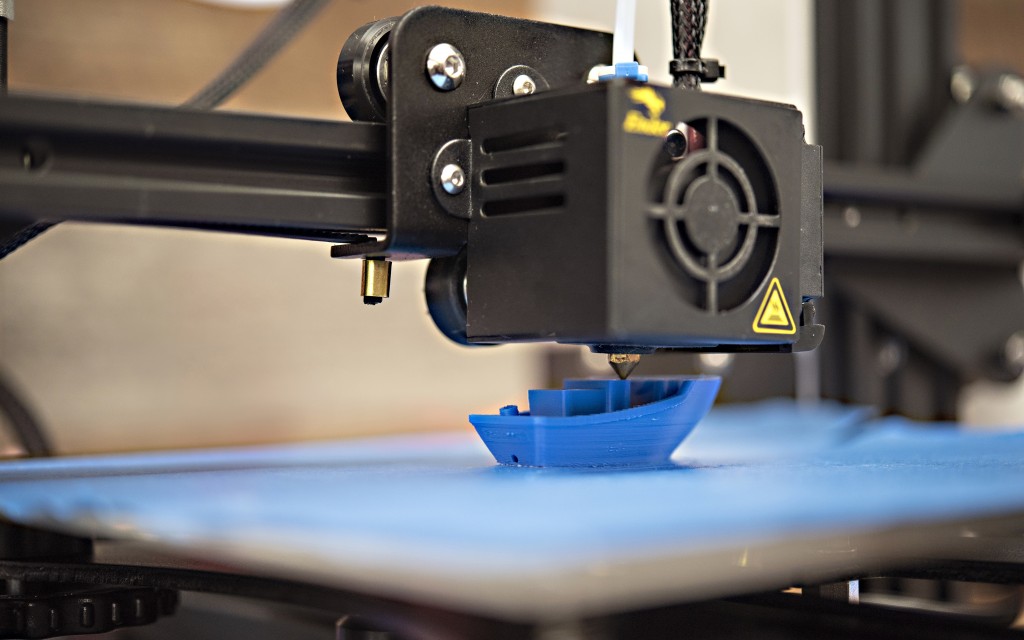
Overall, the Ender 3 did a much better job when printing in PLA versus in ABS, with almost every single PLA print scoring quite a bit higher than its ABS counterpart. Our first pair of models were the 3D Benchy (a model specifically designed to be a 3D printer torture test) and a bridging test. The Ender 3 did very well with the Benchy in PLA but delivered relatively lackluster results in both in ABS. In PLA, the Benchy had all the fine details and a smooth surface finish but the ABS model had a bit of layer separation.
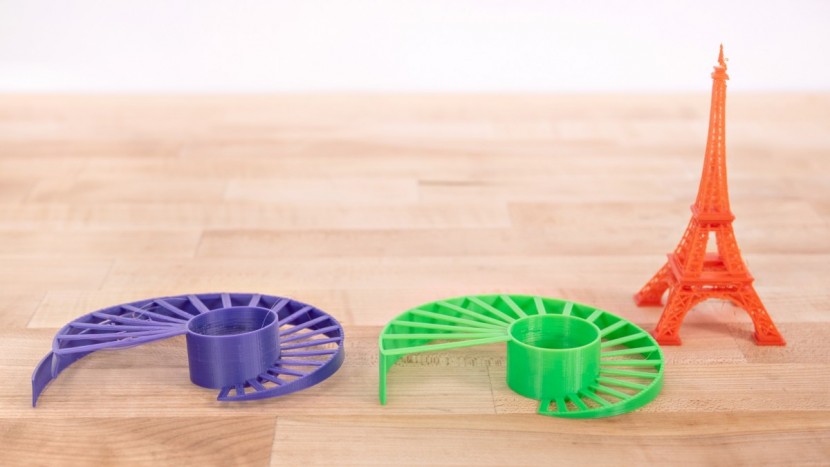
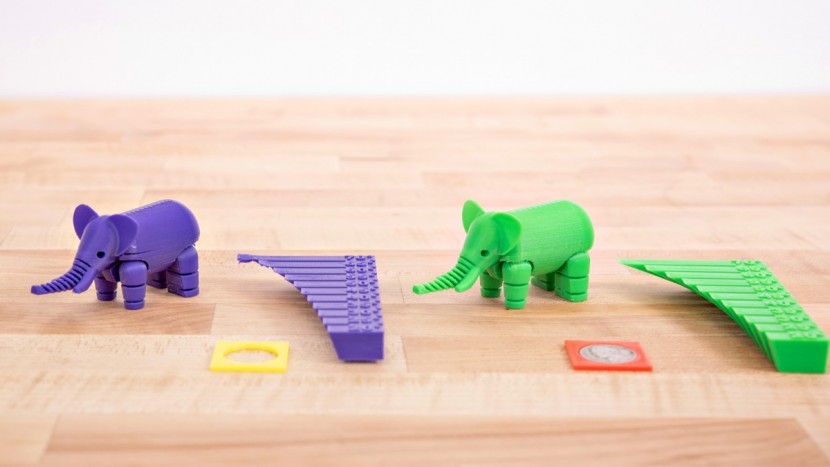
The Ender 3 printed an almost perfect PLA model in the overhang test, with even the steepest overhangs having an impeccable surface finish on the underside. The ABS overhangs were alright but the model warped and separated a ton, making it hard to judge accurately. This printer also fared very well with the articulated elephant in PLA, producing a very clean model that moved well and looked great. As expected at this point, the ABS model had a bunch of layer separation but otherwise looked pretty good.
To test dimensional accuracy, we printed a file with an opening that should perfectly fit a nickel. Regrettable, the Ender was a bit of a disappointment in this test in both PLA and ABS, tending to print oversized. There was plenty of visible space around the nickel and it could even slide around.
The Ender 3 Pro didn't do quite as well with our more difficult to print articulated model — a moveable platform jack. The mechanism works in PLA but it doesn't raise and lower as smoothly as some of the others and it was much harder to break apart initially than we would have liked. The ABS model failed to print. The wireframe cube in PLA exhibited some great bridging with minimal sagging while the ABS version had exceptionally stringy bridges with lots of dropping and the top was essentially not connected to the rest of the print.
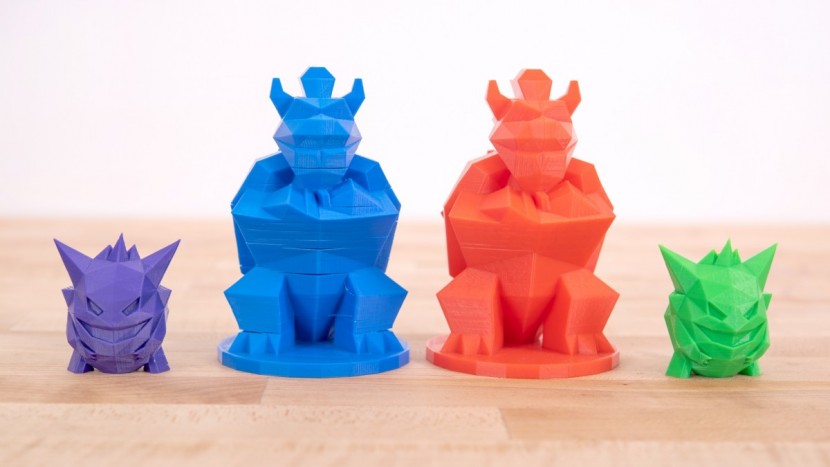
This 3D printer impressed us quite a bit with its performance when printing both of our low-poly figurines — at least with PLA. It matched the performance of the top-tier printers with one of the models and only had some slight defects in the other that would easily be removed if you did any post-processing on the print. Both ABS models had a good surface finish and would have looked almost identical to their PLA counterparts, had there not been — you guessed it — considerable layer separation.
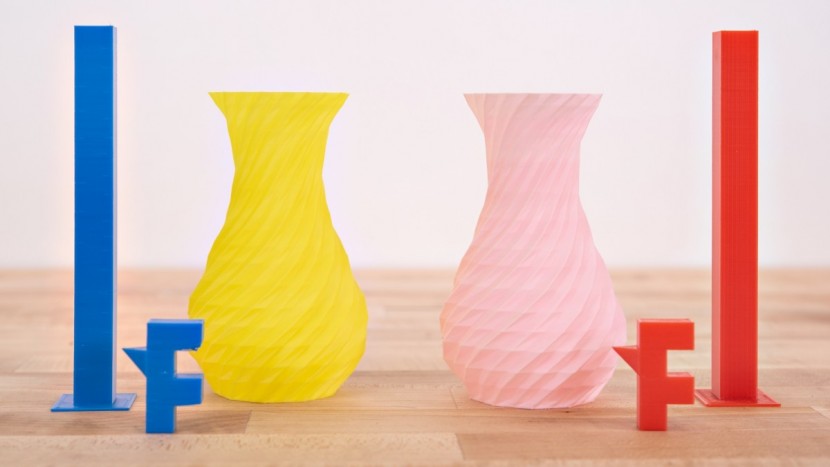
Our spiral vase model tested out how easily the Ender could deal with thin wall and delicate geometry. It did very well in both ABS and PLA, with only the slightest layer separation in the ABS version. This printer did well with the supports test in PLA but poorly in ABS. We did need to use a pair of pliers to remove the supports but they popped out cleanly and the underside of the supported area looks great. The ABS version didn't really get supported due to layer separation, so the surface of the supported area is marred by defects. The tall tower test is to assess the amount of Z-axis wobble the Ender has, which unfortunately is quite prevalent, present in both the ABS and PLA results.
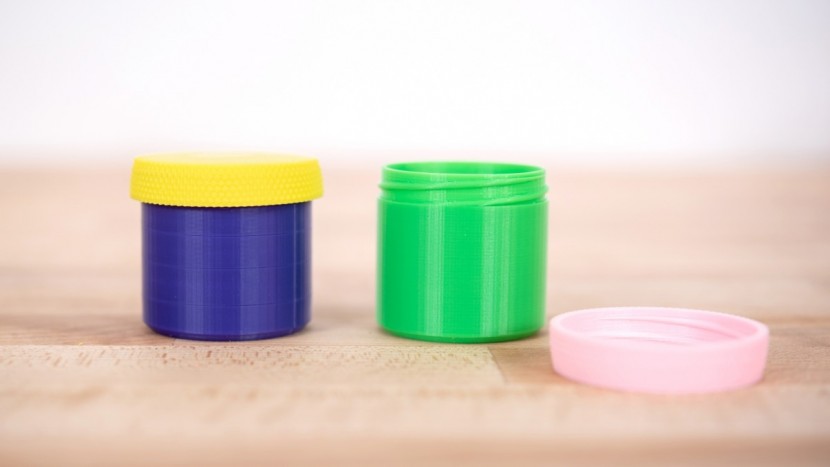
Our final two test models are a jar with a corresponding screw-on lid. The PLA versions were alright, with the jar coming out much cleaner than the lid but you could thread on the lid without too much work.
Ease of Use
After assessing print quality, we moved on to rating and scoring how much work it was to get the Ender to actually print things. We focused on the difficulty of leveling the bed and the initial setup and assembly of each printer, as well as the ease of swapping the filament, the quality of the interface, and the various ways you could send a file to the 3D printer from your computer to determine scores, which are responsible for 30% of the Ender's total results. This 3D printer is one of the easier models to use, earning it an above-average score.
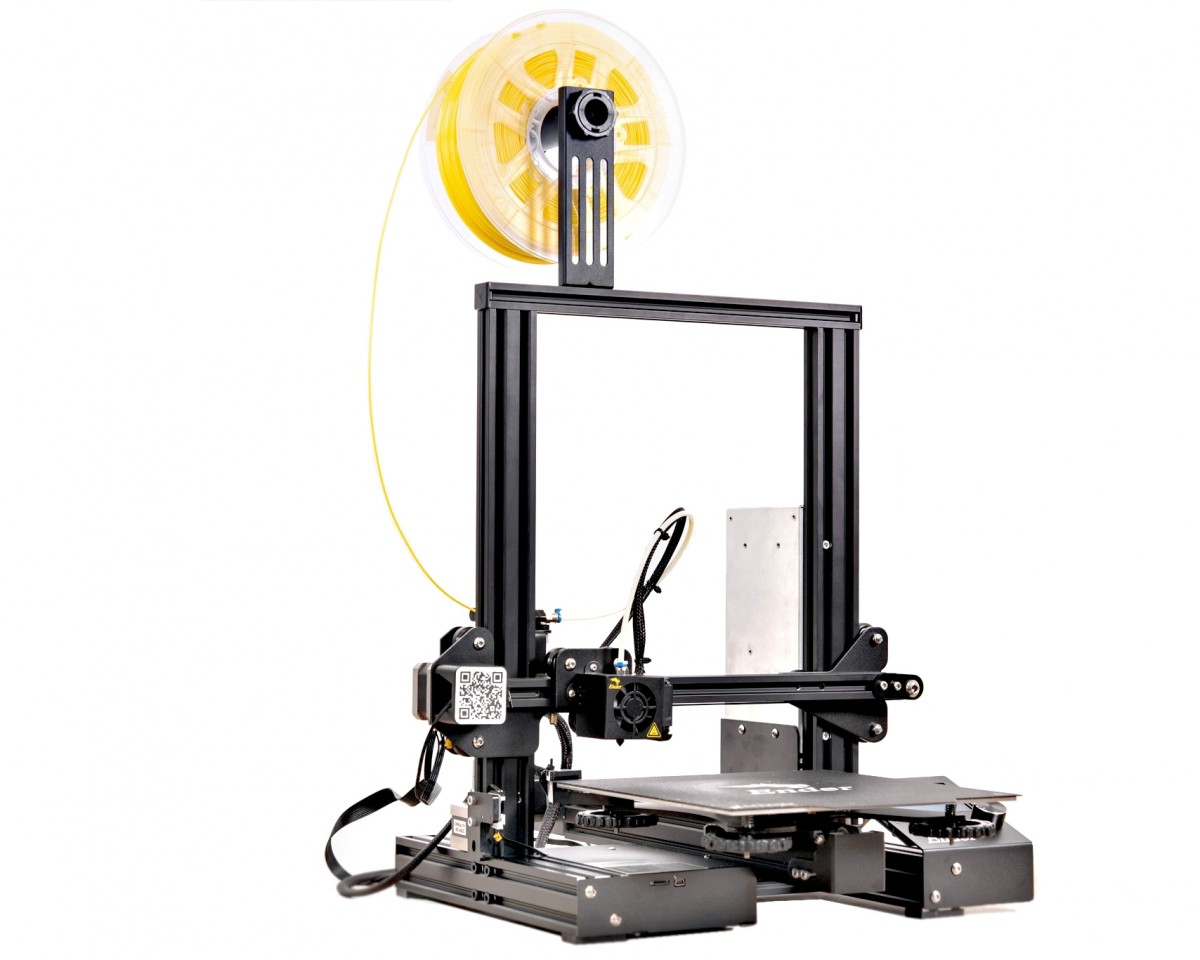
Right off the bat, the Ender did distinguish itself by requiring a bit more assembly than any of the other printers we have tested to date. While this can seem like a daunting task, it actually isn't too bad — just a bit time-consuming.
It took us about an hour to bolt all the parts together and get the wires plugged into the right locations and the included documentation is great at leading you through the entire process, which is fairly straightforward. Creality has its own software for running the printer or you can use any of the popular third-party programs, like Cura.
It's about so-so in difficulty to level the bed on the Ender. It is an entirely manual process, forcing you to disable the stepper motors and push the extruder head around to various points on the bed but you can download user-created files that will move the head to the five necessary points to automate part of the process. We also liked that the adjustment knobs are large and exceptionally easy to turn, allowing you to finely adjust the bed height. Unfortunately, the unit we tested had a slightly warped bed that no amount of leveling could fix but the addition of a third-party glass print plate solved this for the most part.
You can either manually feed in new filament or use the semi-automatic process — we found we vastly preferred to just use the tension release lever on the extruder and feed the filament in ourselves, rather than use the extruder motor to do it.
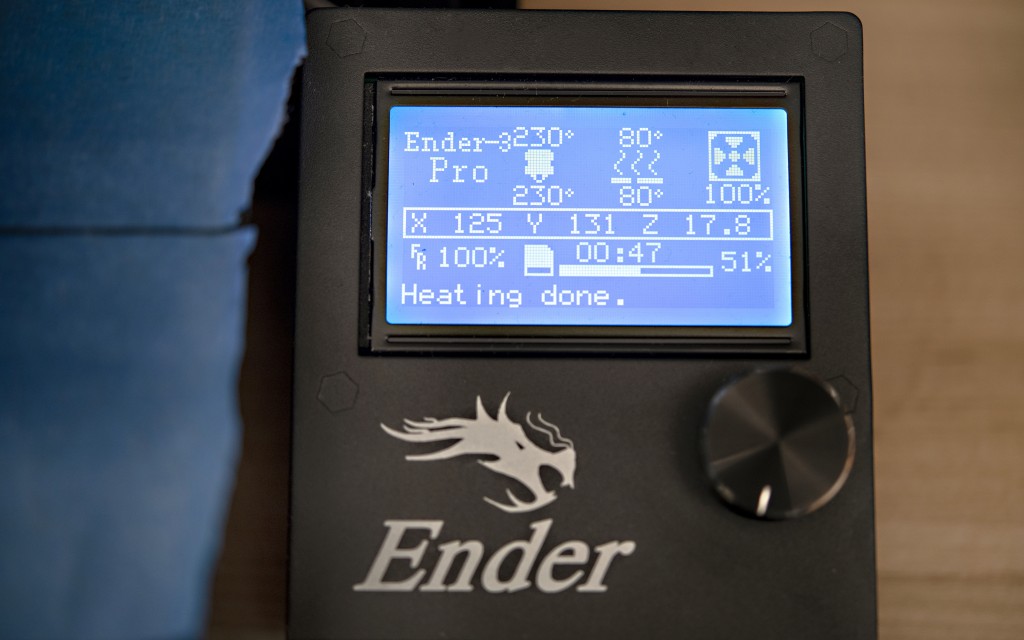
Files can be sent to the printer through either a microSD card or a USB cable — typical for these products — and the interface is quite nice, showing you plenty of relevant information in an easy to read way while the machine is operating.
Print Capabilities
Next, we rated and scored the print capabilities of each product — basically looking at how large of items it can print and its material capabilities, as well as software compatibility. This is responsible for 20% of the final score of each printer, with the Ender earning an above-average score for its solid set of printing abilities.
As mentioned above, the Ender 3 Pro does have its proprietary slicer but you aren't restricted to only using it. This printer works with other programs, like Cura or Repetier-host, and we found we usually preferred to use Cura for slicing. The Ender had a decent build volume of about 8.66"x8.66"x9.84" (220mmx220mmx250mm) and has a detachable print surface that attaches magnetically to the machine. We found this to be great for printing PLA but struggled with bed adhesion issues when using ABS. We added a third-party glass print bed to solve this for ABS tests — a fairly inexpensive addition.
This printer is compatible with any 1.75mm filament that doesn't require more than 255°C to melt.
It also has a single layer cooling fan in addition to the hotend cooling fan for materials that require immediate cooling after extrusion and a spool holder right on the top of the machine.
Support
Our last testing metric dealt with the level of customer support and service each printer has, which constitutes the remaining 10% of the final score. To score this, we compared the warranty of each printer and the quality of the included documentation, as well as the ease of contacting the manufacturer's support team and how helpful they were in response to our questions.
Creality has around a handful of tutorial/how-to videos to help you get the machine up and running. Unfortunately, we couldn't find a phone number to contact them through but we did find an email and contact form. Unfortunately, we were directed by Creality to the seller but the seller was very responsive and even offered to provide free replacement fans when we told them they were broken and sent a video of the broken one. This printer states it has a 1-year limited warranty but we aren't sure how confident we would be in that after Creality's response to our inquiry.
Value
If you are looking for a bargain buy, it's hard to go wrong with the Ender 3 Pro. It might take a little tinkering and some time to assemble but you can get some fantastic prints out of this machine for a relatively small investment if you put the time into it.
Conclusion
Overall, the Ender 3 Pro is our top recommendation for anyone on a super tight budget who wants to get into 3D printing.


