Anycubic Photon Review
Our Verdict
Our Analysis and Test Results
Print Quality
For our first set of assessments, we compared the quality of the actual models produced by each printer. This metric is worth 40% of the total score for each product and is based on how well each printer printed our set of test models, each selected to thoroughly challenge each printer — at least, every FDM/FFF printer. As the Photon is a resin printer, we had to change up our test plan a bit, as it prints in a totally different way than the rest of the group. We ended up printing a handful of our test models to compare the quality to the other printers and when it was clear that the Photon was far superior, we printed a handful of detailed figurines and other models to really see what this printer can do. Needless to say, the Photon merited a 10 out of 10 for its superb results.
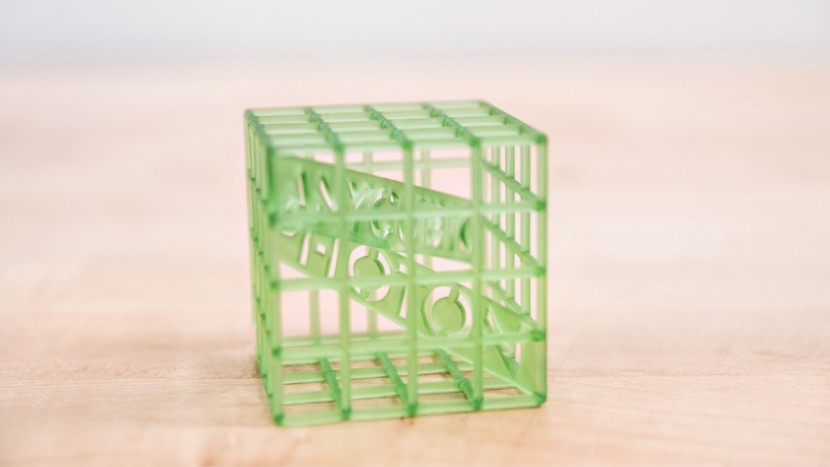
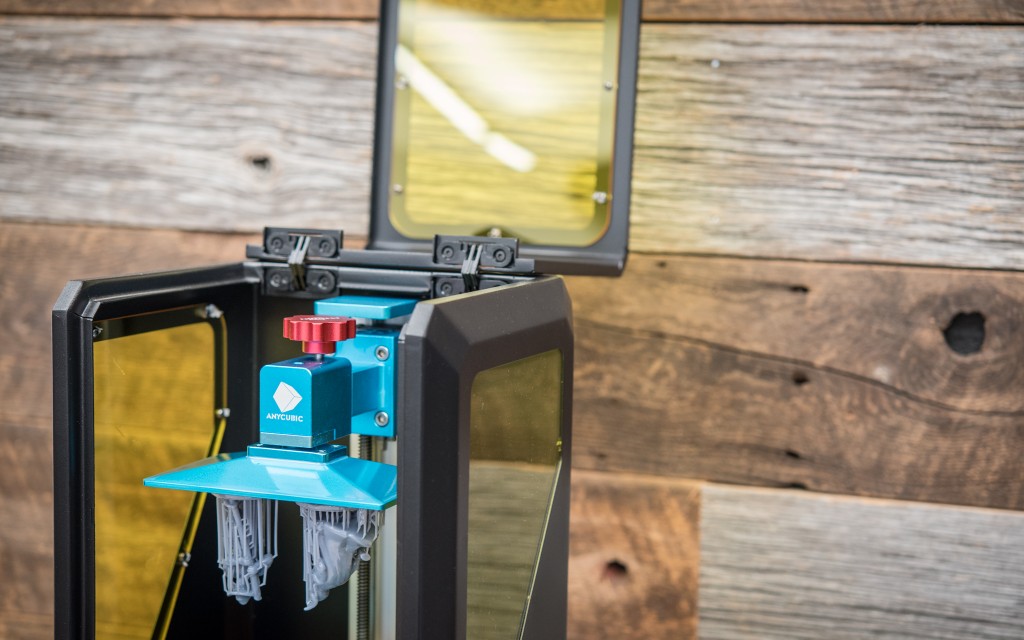
The sample model included on the machine is a wireframe cube with the name of the printer inside. After printing it, it was clear that you can achieve finer details that almost any FDM printer can. This is because the liquid resin is actually cured by light from a projector, allowing much more precise control than a physical nozzle moving around squirting out plastic.
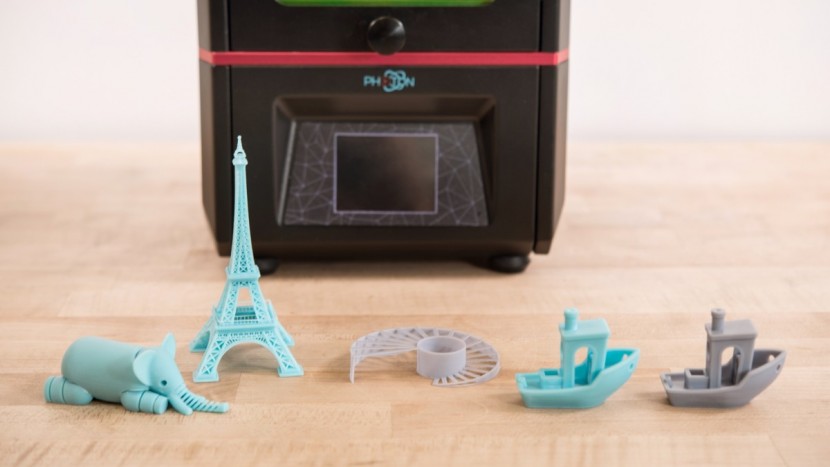
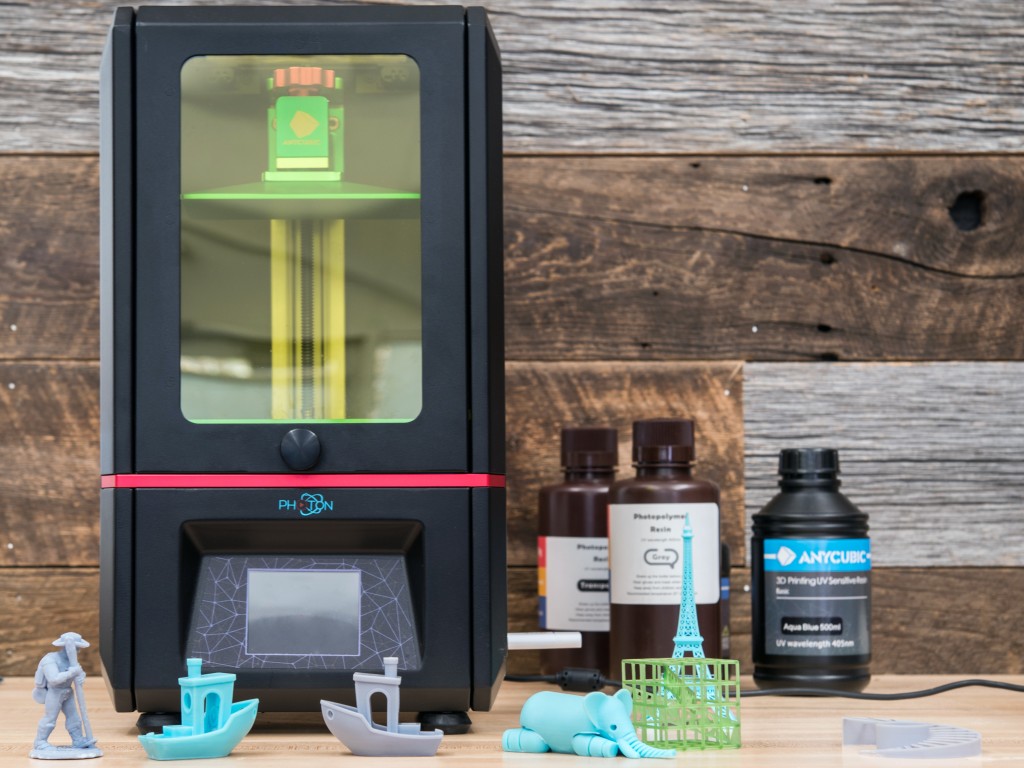
To start off judging this printer, we decided that the ubiquitous 3D printer torture test, the 3D Benchy was a good place to start. The Photon did an excellent job, handling all of the bridges and the overhangs with ease and delivering an exceptionally smooth surface finish — when there weren't any sources of vibrations, like another 3D printer running next to it.
If there is a source of vibration, the liquid resin will actually slosh back and forth, which will present itself as tiny ridges on your part. We moved on to try some of our other standard evaluation models, such as a bridging test, a model of the Eiffel Tower, an overhang test, an articulated elephant, and a handful of high-resolution figurines.
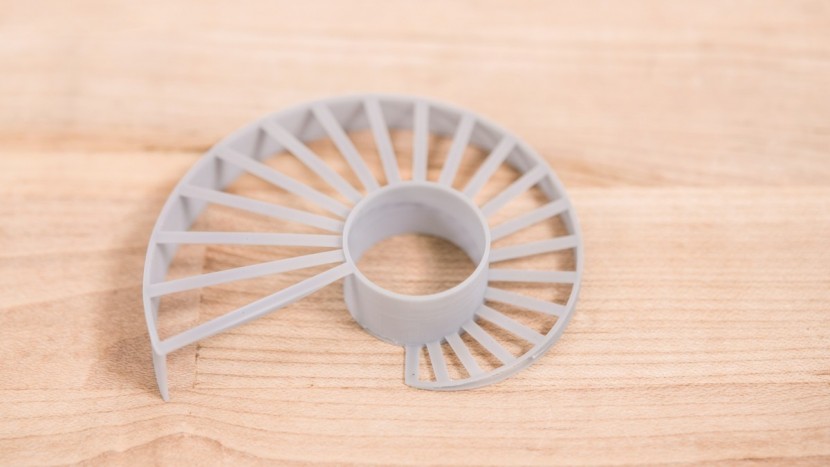
This printer handles bridges exceptionally well, largely helped by the entire layer curing at once, rather than being laid down a strand at a time. Our spiral bridge test was printed without supports, though there was a tiny deformation on the underside of one of the bridges where excess resin was cured.
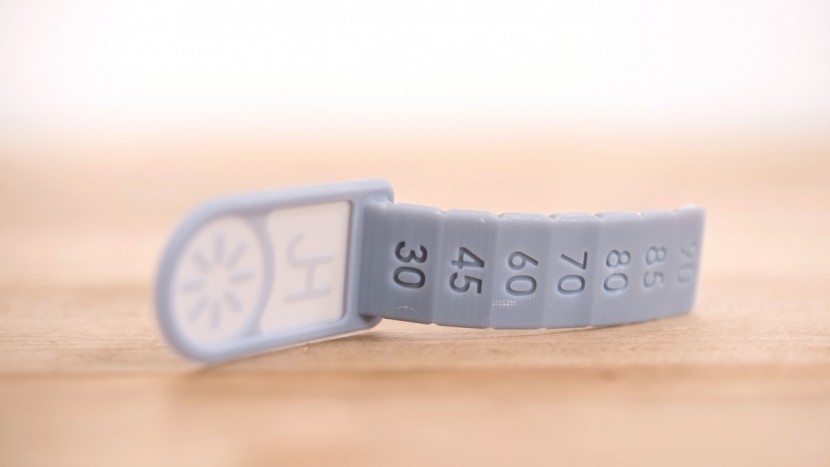
The overhang test was also superb, though there was also a small abnormality on the underside of the steepest overhang. We realized that this is from the print actually flexing as it moves up and down through the resin and probably could have been mitigated with a much slower rise and lower time.
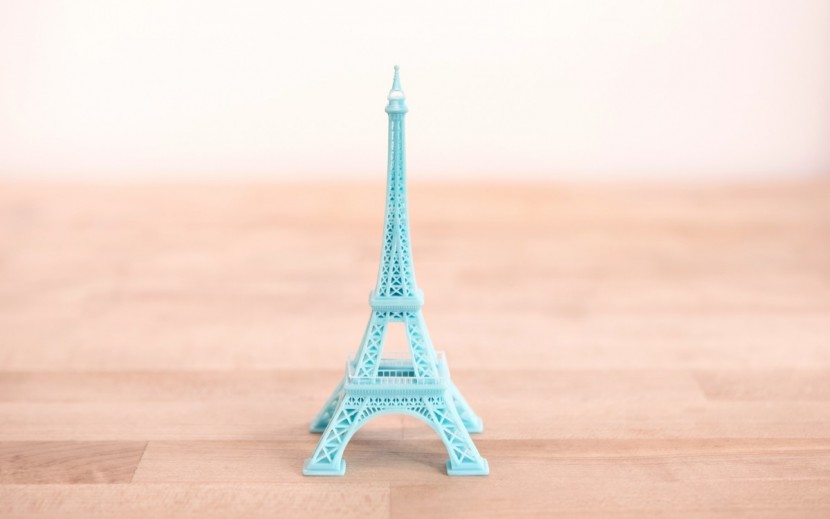
The Eiffel Tower created is by far the best of the entire group, with minuscule features omitted by the other printers entirely printed perfectly by the Photon. In fact, some of the railings were so spindly that we accidentally broke them off by essentially just touching them in the post-processing of this prints.
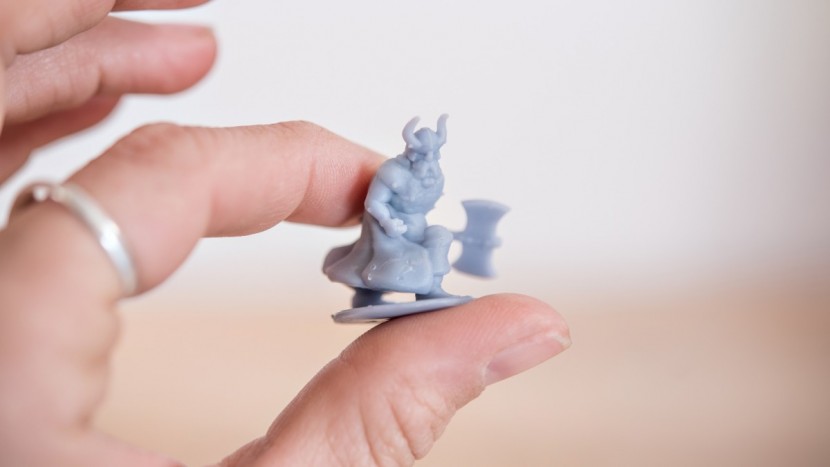
The figurines we printed came out great, with almost all of the model detail reproduced even when printing on a small scale.
The articulated elephant unfortunately fused and broke when we tried to snap the legs free, so there are definitely better printers out there if you are hoping to make print-in-place articulated models.
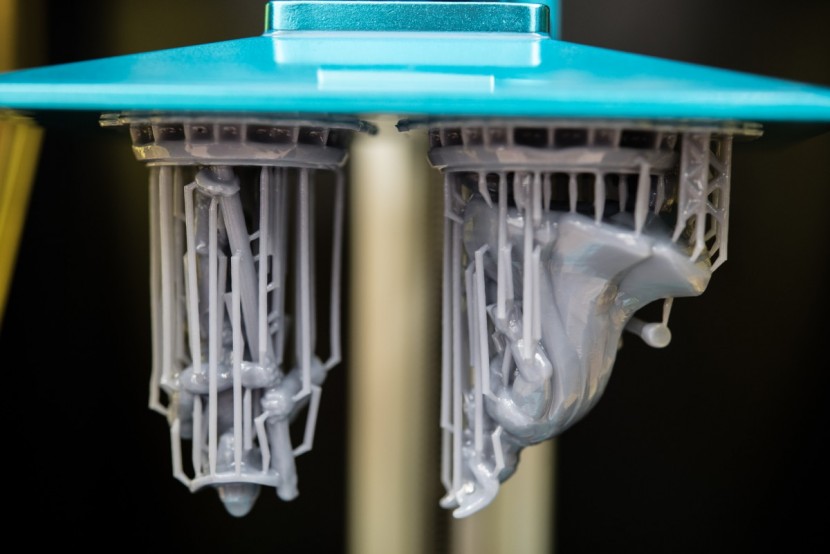
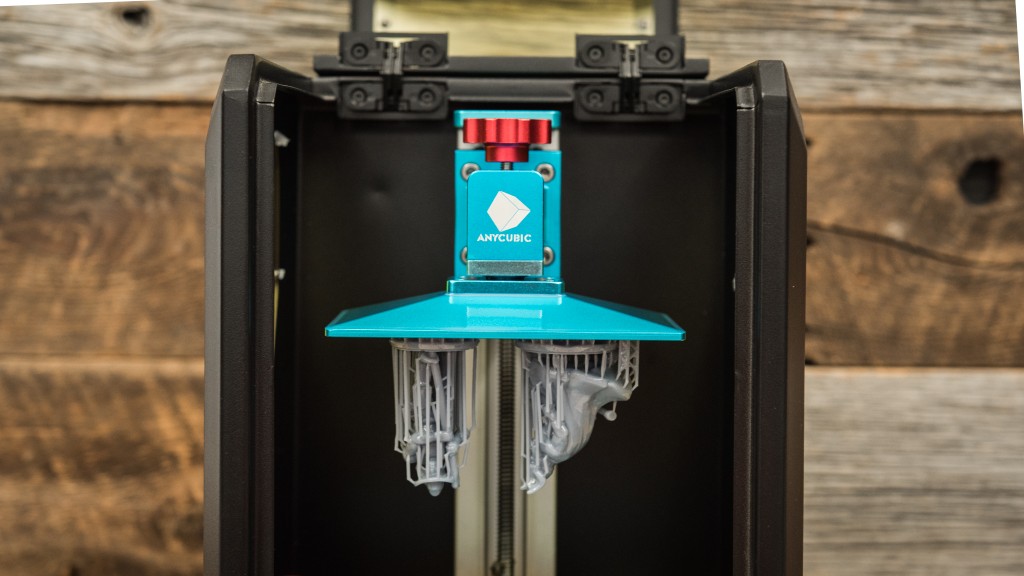
We did use support when printing these — this is where the 3D printing software will add a sacrificial structure to support islands or extremely overhanging parts. However, the support structure with the Photon is a bit different than other printers — much more spindly and tree-like.
The surface finish on the figurines was impeccable, for the most part.
However, there were tiny blemishes left behind after we trimmed the support material away, though some of these would probably be minimized by extreme precision when removing the support material and careful sanding after the print is post-processed and cured. As we have mentioned, the post-processing and post-curing of resin prints can be a bit more labor intensive than other types of printers, which leads us to our next metric.
Ease of Use
Following our print quality evaluations, the next most important round of tests focused on how easy to use this printer is, which accounts for 30% of its overall score. We again had to tweak our testing plan for this printer slightly, basing the Photon's score on the difficulty of changing and cleaning the resin, leveling the build platform, the initial setup, the interface on the printer, and the connection method to send files to the printer. Additionally, we also took into account all of the post-processing and other resin-specific tasks required to keep this printer operating properly. Unfortunately, the Photon is undeniably a much bigger hassle to operate than almost any other printer we have tested, earning it a 2 out of 10.
It definitely takes a bit more effort to change out resins than to swap filaments with the other printers. However, it is faster and easier to load resin into a clean printer than to load filament — simply by pouring it into the vat until it is about ⅓ full.
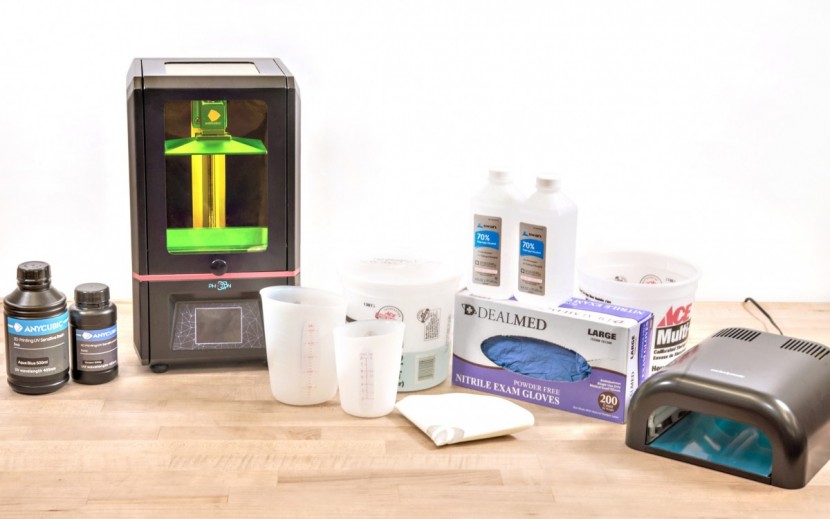
Unfortunately, it is recommended that you clean out the printer if you aren't going to be using it within the next two days, which is where all the effort comes in. You need to filter the resin using one of the included ones or a similar one before putting it back in the bottle, to ensure there are no cured fragments floating around. We found using some silicone measuring cups was the easiest way of doing this, pouring the resin from the tank through the filter held over the measuring cups, then using that to pour it back into the opaque bottle it came in. The resin — cured or uncured — won't stick to the silicone, making cleanup a breeze.
You then need to carefully wipe out the tank and the build plate, making sure you don't drip resin anywhere inside the printer. Additionally, you should also be wearing proper protective equipment while doing this, such as eye protection and nitrile gloves.
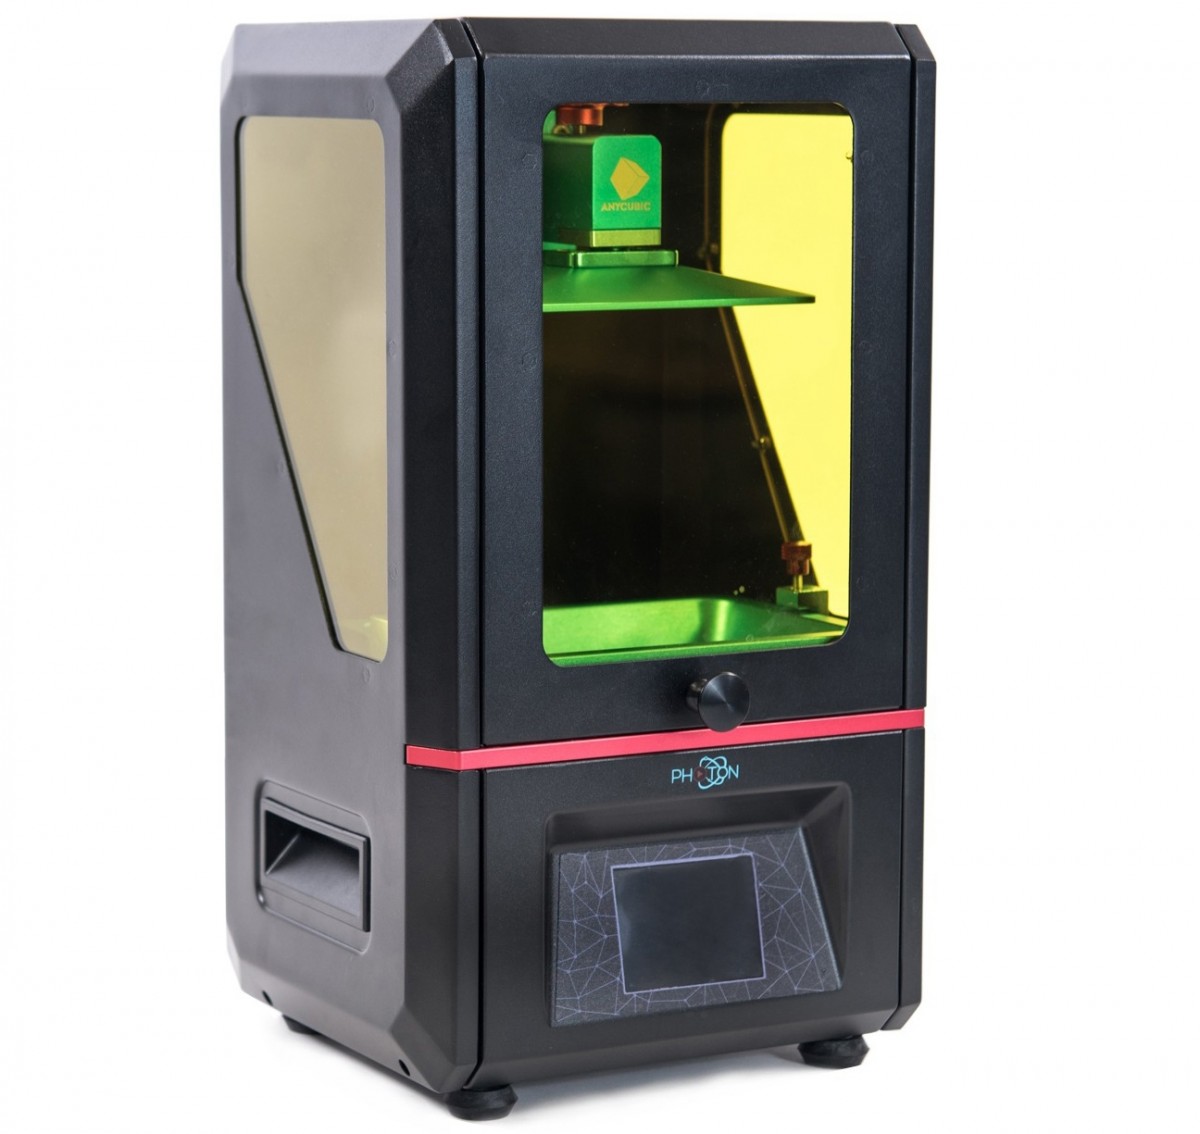
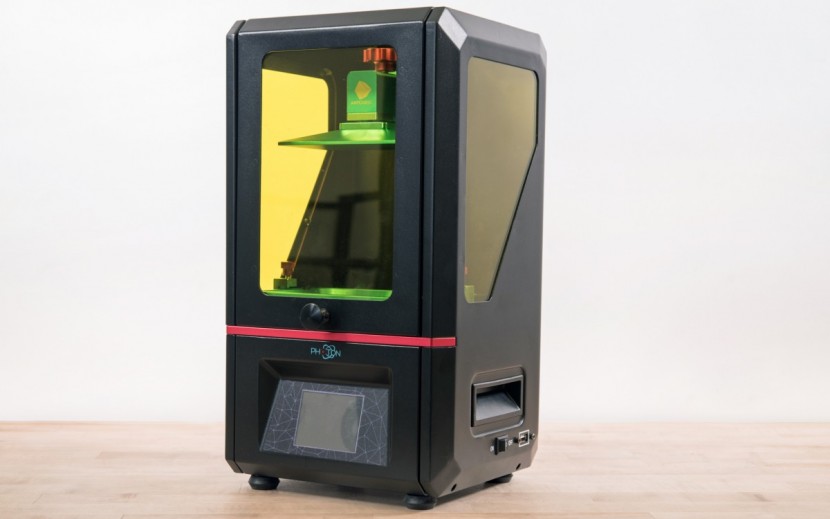
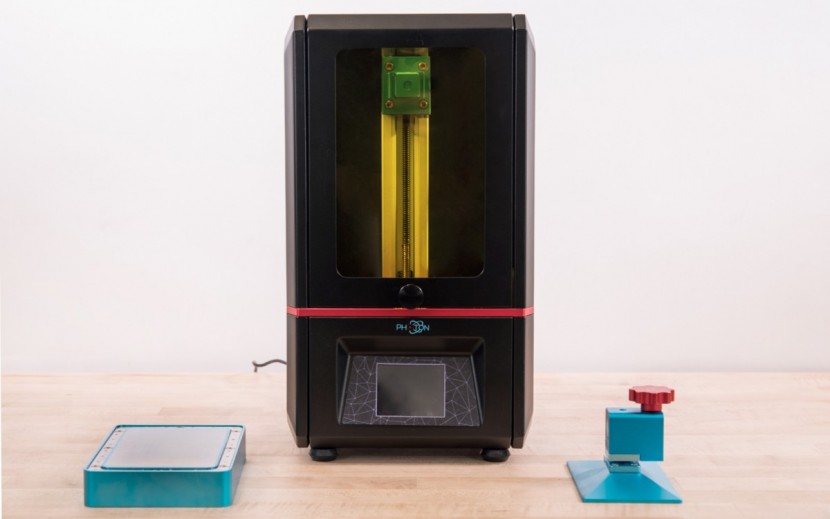
Fortunately, it is very easy to level the build plate — faster and easier than the FDM/FFF printers — with easy to follow instructions and there is almost no setup required, with the Photon arriving essentially fully-assembled. Unfortunately, you cannot print over WiFi, instead you use an included USB thumb drive.
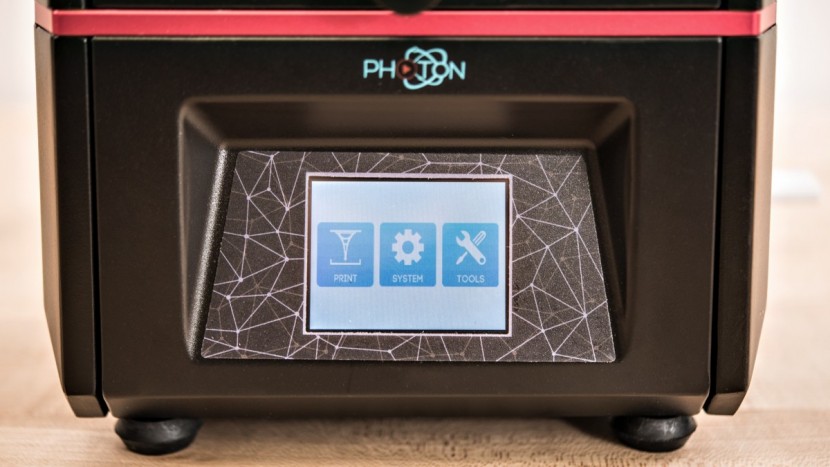
Having a reliable connection is especially important, as the resin is quite a bit more costly than PLA or ABS, so failed prints can be quite frustrating. The Photon does have a solid display, showing some basic info while it is printing and a relatively user-friendly interface.
Finally, you aren't quite done when the printer is finished printing. You still need to remove the print, carefully pop it off the build plate without stabbing yourself or making a giant goopy resin mess, then wash the part. We used two tanks, one full of warm — not hot — water and one full of isopropyl alcohol to clean the part. We tested with 70% isopropyl, as it is easily available and a bit safer than higher, lab-grade solutions and found it worked fine. Finally, you need to post-cure the part to let the resin reach its maximum strength. You can do this by leaving it outside on a sunny day to soak up some UV rays or you can use an artificial UV source. We elected to use the latter and got a small box originally designed for curing UV nail polish to place the prints in.
These can be found at quite a low price at most major retailers and there are plenty of resources online for modifying a pair of these to get an even better and more consistent post-cure using a UV turntable.
Print Capabilities
Next, we moved on to judging the various capabilities each of these printers has, such as what software you can use with them, the build volume, and what materials they can print with — especially if they are restricted to proprietary materials or if they are compatible with third-party products. The Photon did about average, earning a 5 out of 10.
This printer has a relatively small build area — 115mm x 65mm x 155mm (4.53" x 2.56" x 6.10") — so you should definitely consider a different printer if you want to make giant models. However, we didn't really have any bed adhesion issues with the anodized aluminum build platform.
Most of the common slicers aren't compatible with this printer, including Simplify3D, but we found the Anycubic software to be quite easy to use. This printer can only print in resin, no other materials, but it is compatible with any 405 nm curing resin.
Support
For the final 10% of the total score, we compared the quality of the customer support, the included documentation, and the warranty for each printer. The Anycubic finished out our tests with a strong showing, earning a 7 out of 10.
There are a fair amount of videos that explain how to use this printer on the manufacturer's website — something we highly recommend going through when you get this printer, as it can help prevent making a giant resin mess. You can contact Anycubic through a contact form or email, but there is only a Chinese phone number and no customer support chat available. However, they did respond quite promptly and were very helpful with our questions, even offering to slice a model that we were struggling to print properly and correctly place the supports.
The UV LED and the LCD screen have a 3-month warranty, while all the other components — with the exception of included tools and the FEP film at the bottom of the resin tank — have a 12-month warranty.
Value
While this printer retails at a more economical price than many of the others, it is quite a bit more costly to print with, making it an alright value option if you care about quality of each print, rather than printing a ton.
Conclusion
If you need precise parts or detailed models, then the Anycubic Photon is a great choice. It's a little more involved to use, so it can be a bit daunting for the novice and isn't a great printer to use with kids, but once you get the hang of it, be prepared for some seriously exceptional prints.


